

Loaf in a Cloche
I have a scientific experiment happening in my kitchen right now. I am trying to “grow” yeast or “chef” from which (if I am successful) I will create my sour dough starter that I will be able to “feed” weekly and maintain a constant supply of “starter” to make sour dough breads. Whew!! Sounds complicated, but this isn’t my first rodeo with using a starter to create sourdough bread. Back in the 60’s I was a hippie chick and we hugged trees, recycled, reused and cooked a lot from scratch which included making my own bread. But throughout the ensuing 40 years or so, I discarded my starter so I am beginning anew. Some sour dough starters have been maintained for 100 years, passed down through generations. I myself shared portions of my starter with friends and family way back when…
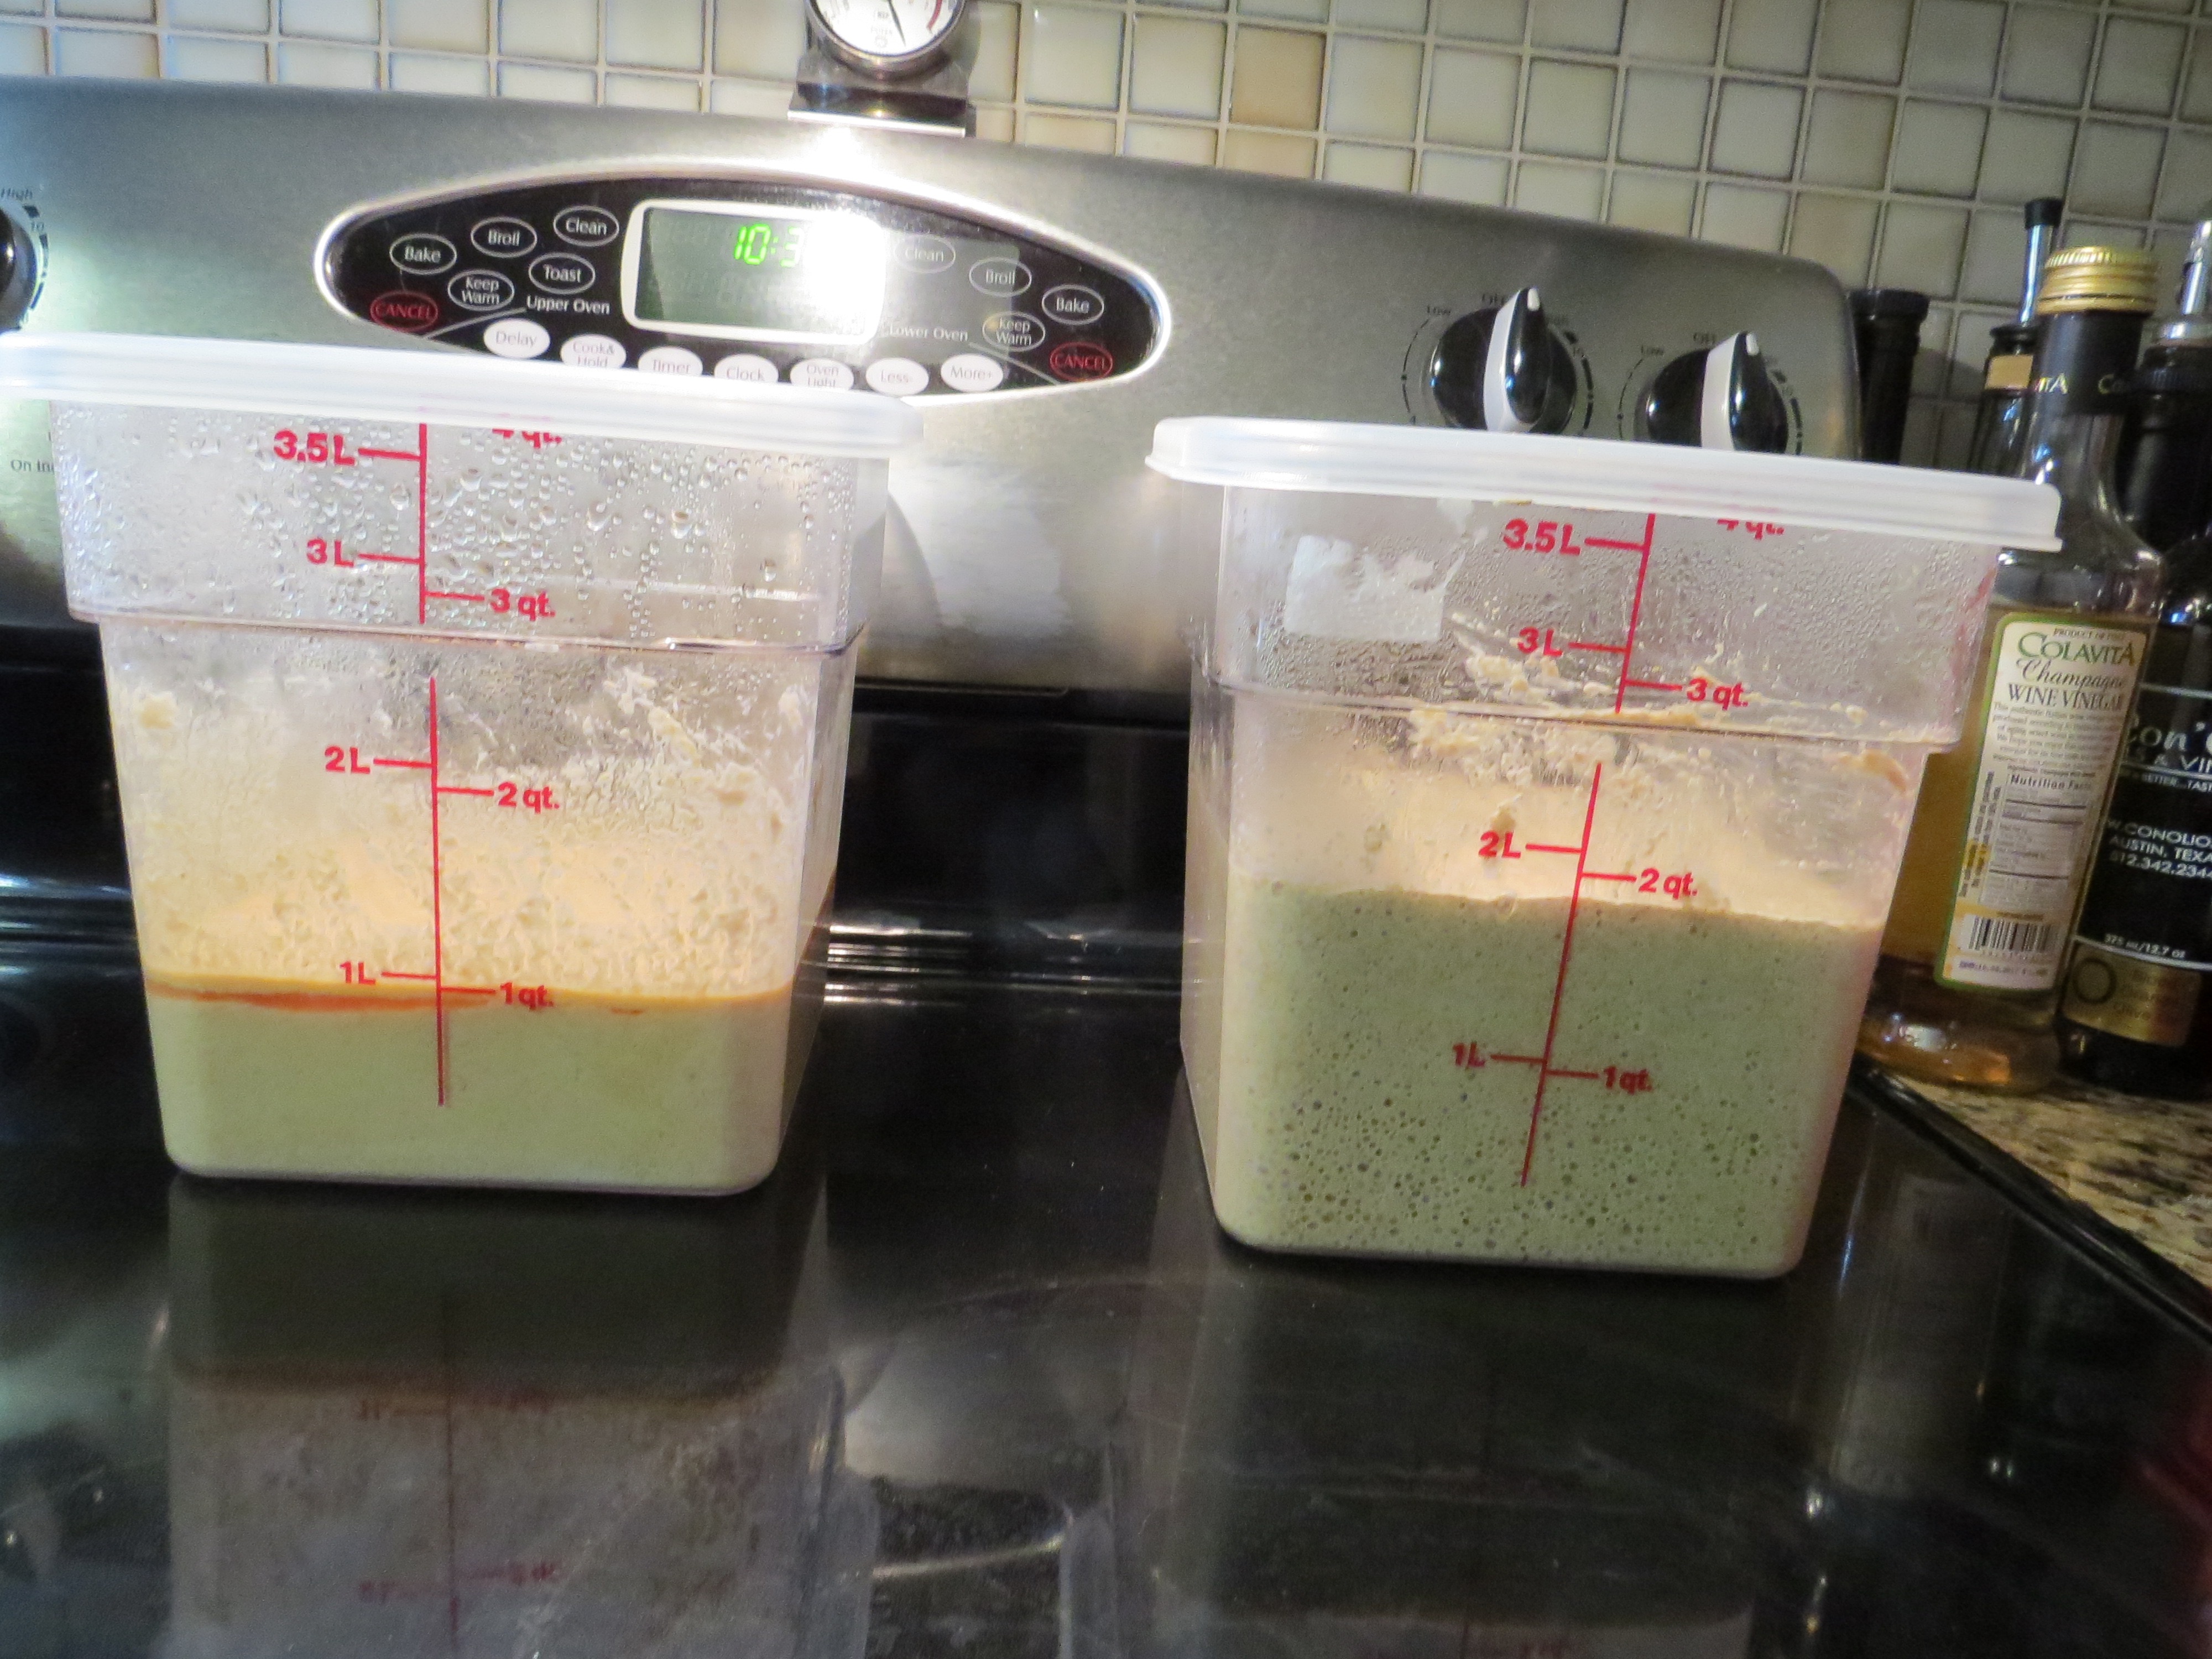
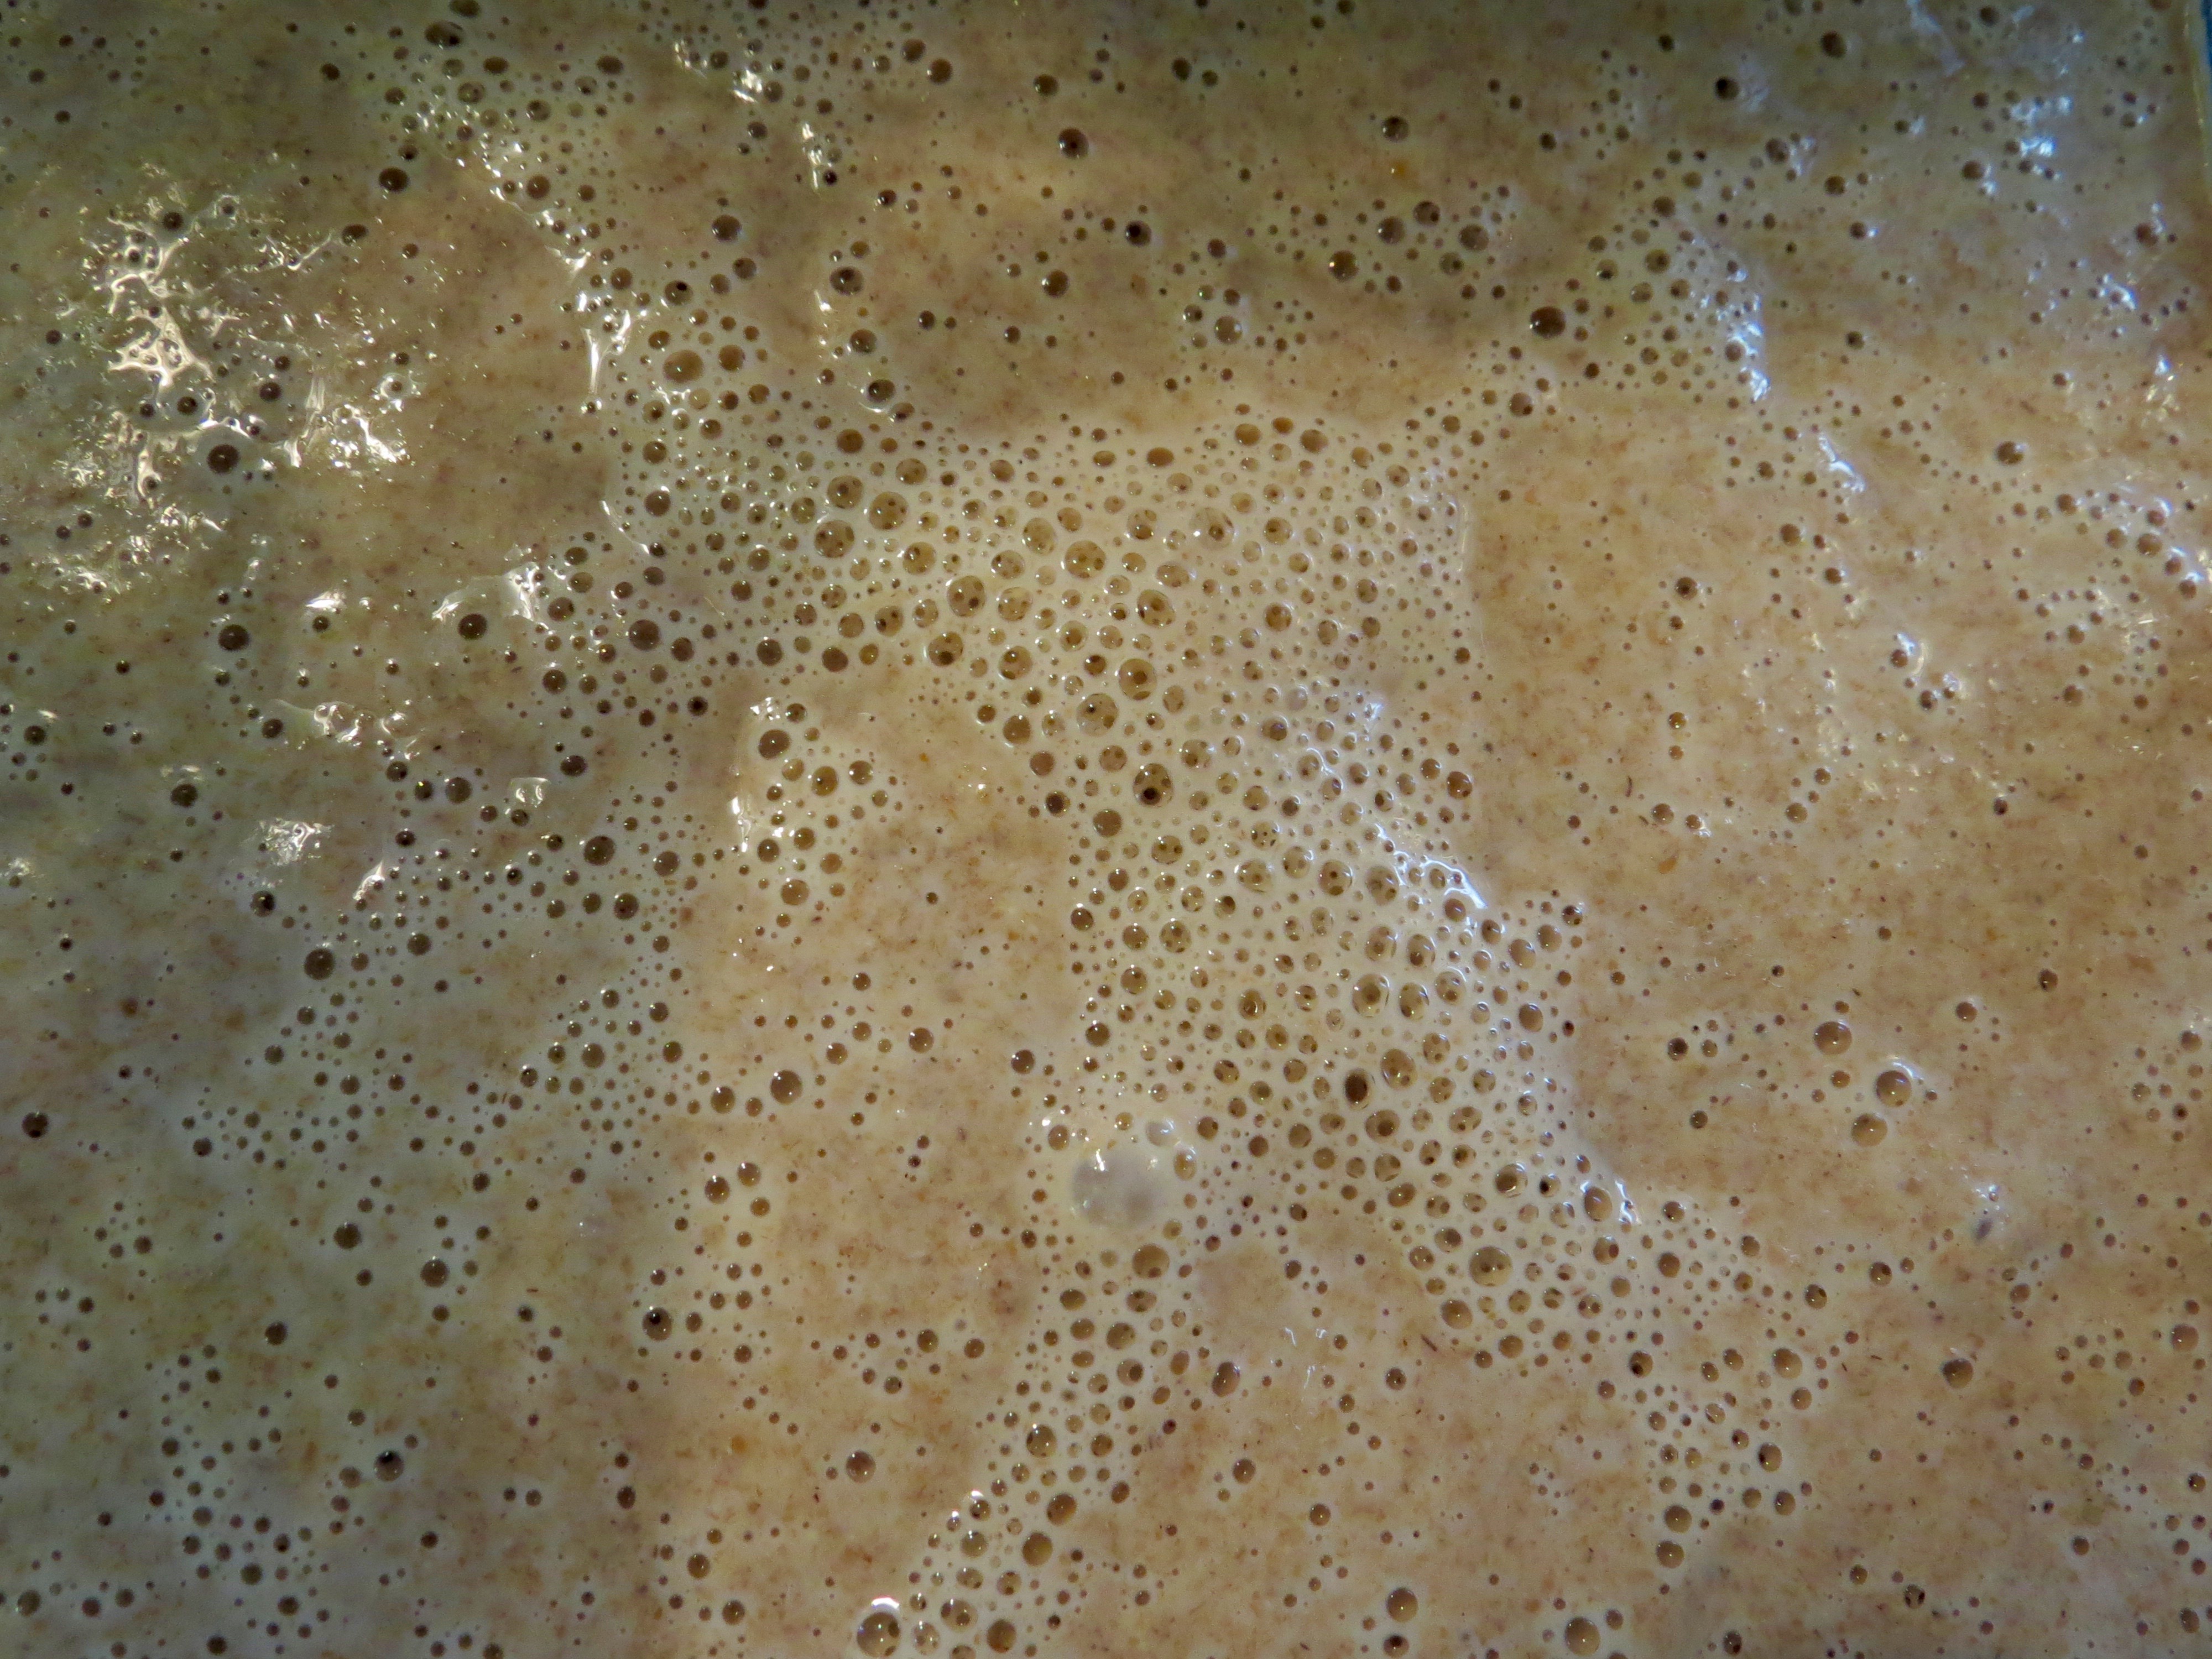
I have two different concoctions growing right now from two different book recipes. One was simple to mix and only requires that I stir it once daily for five days. This recipe came from the Tassajara Bread Book…1 tablespoon dry yeast, 2 1/2 cups warm water, 2 teaspoons honey, 2 1/2 cups flour mixed together, covered and left to brew for five days.
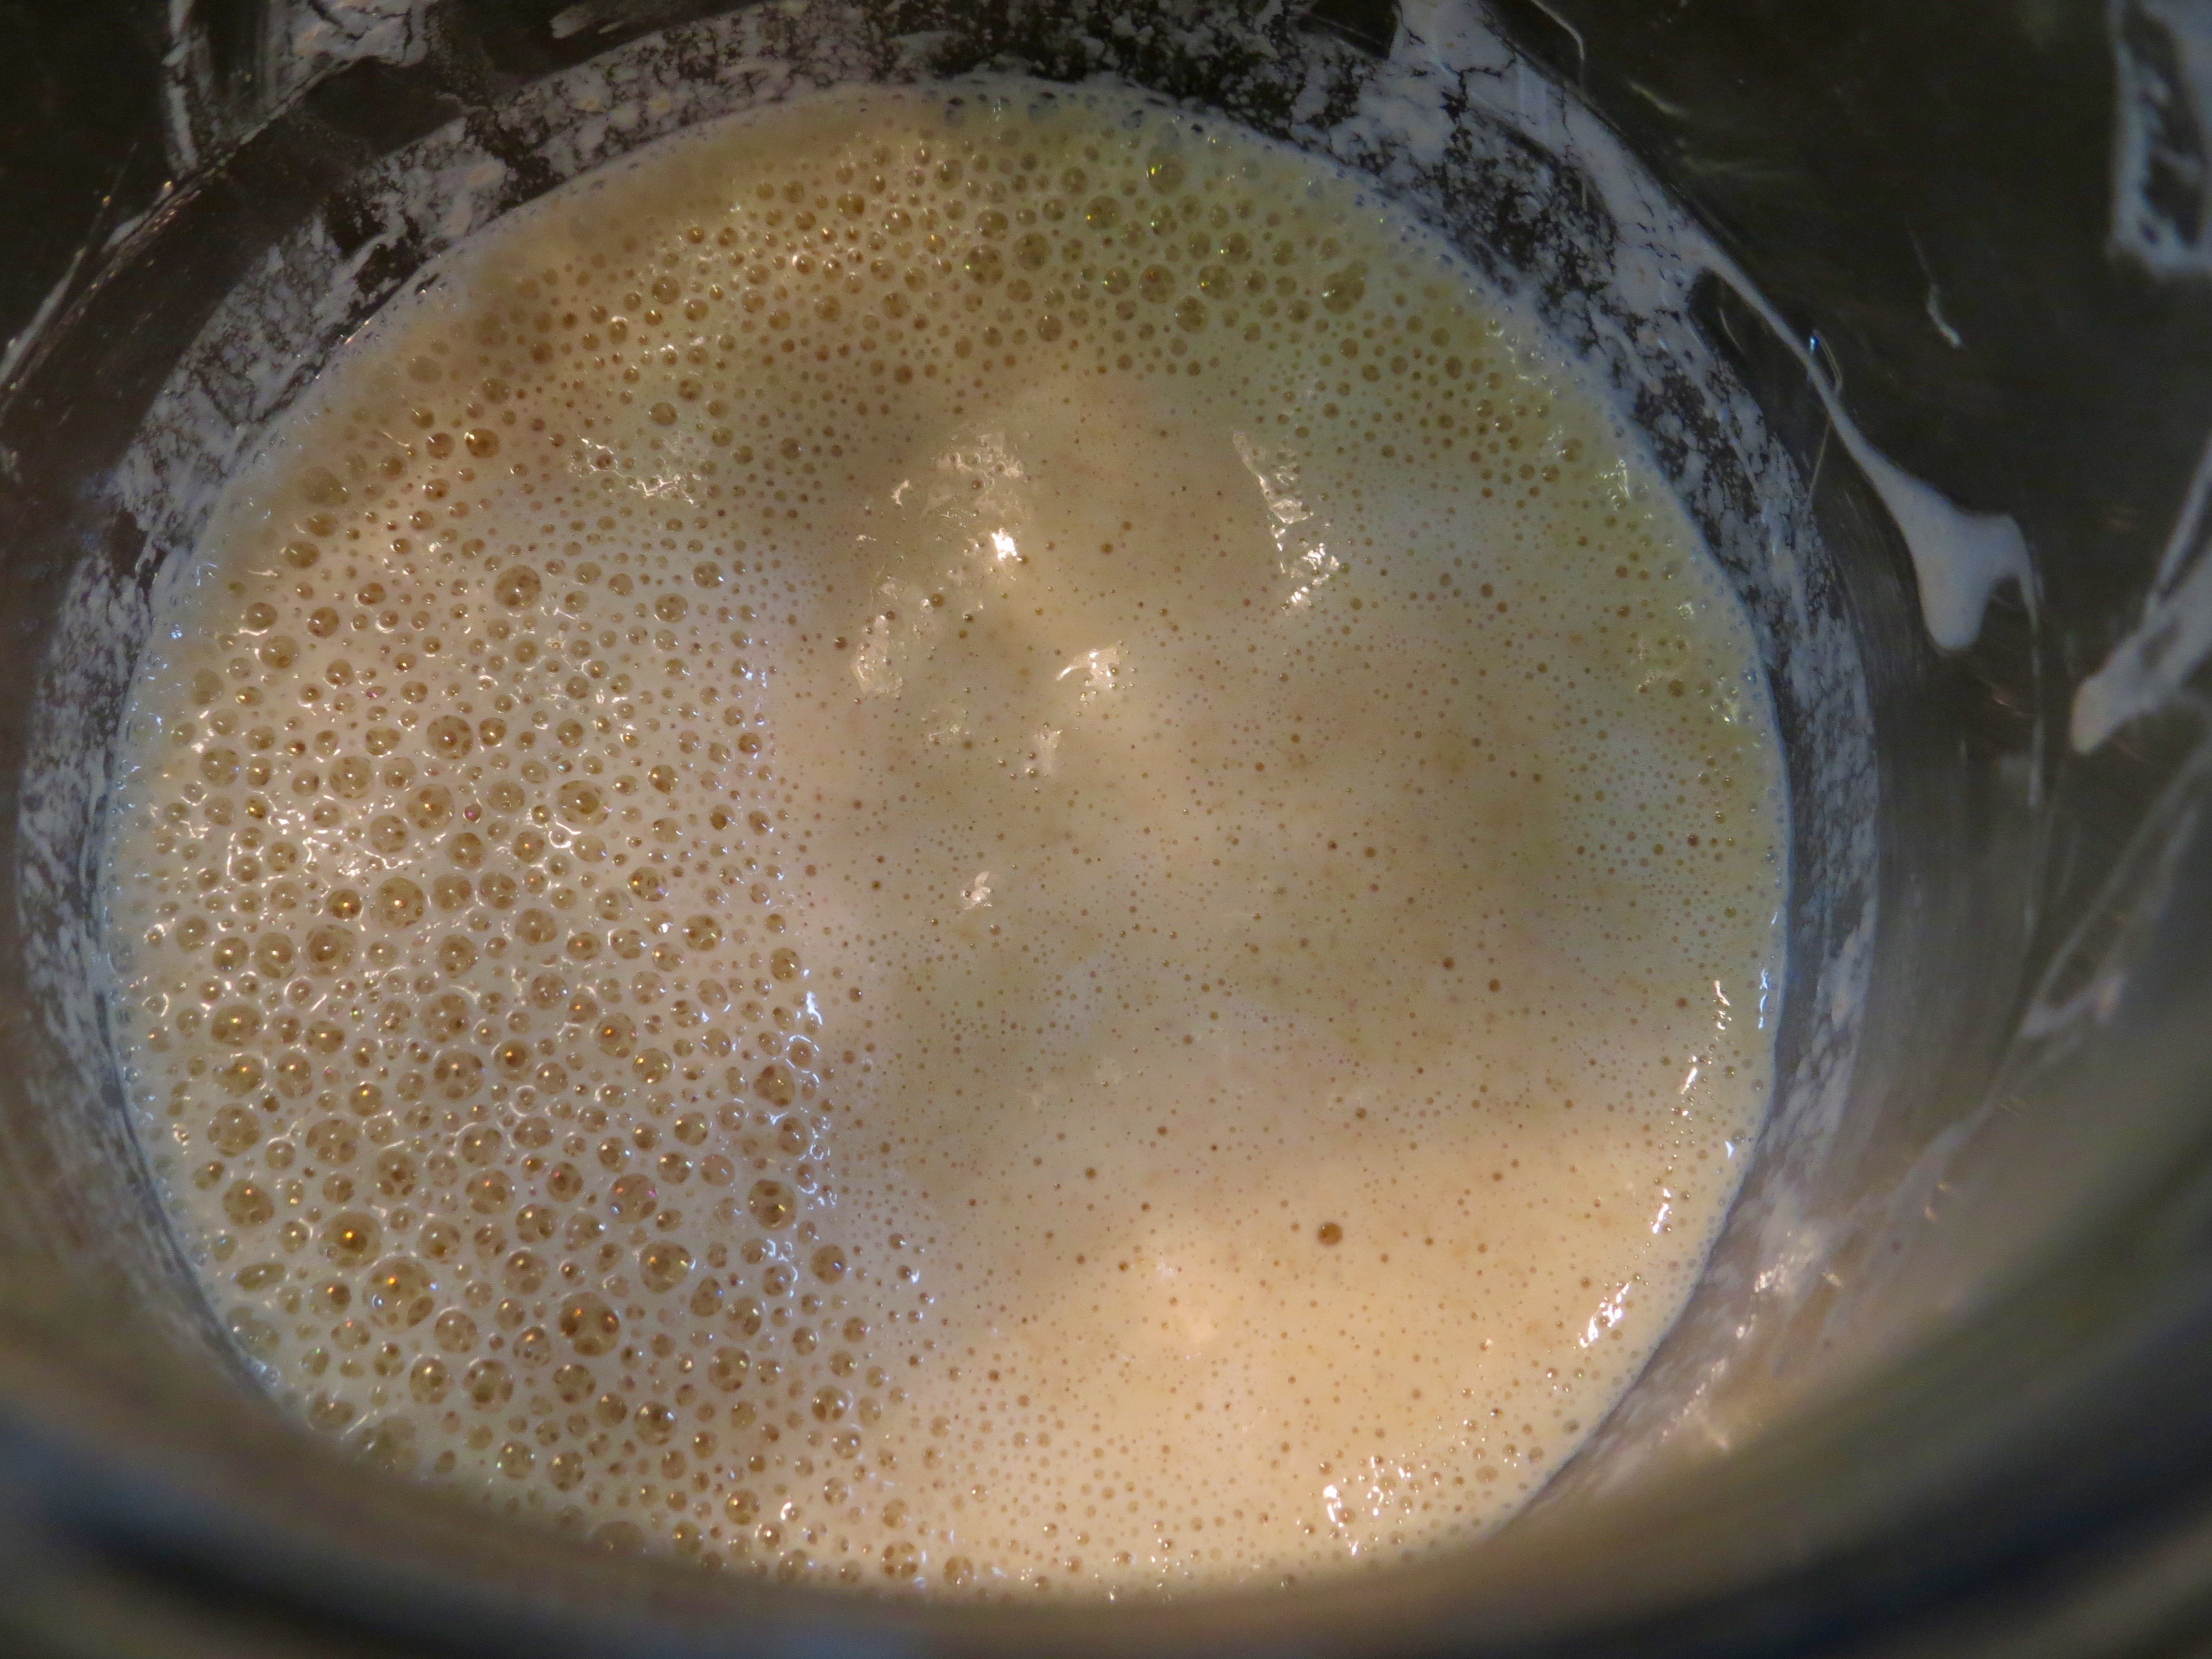
The second comes from the Bread Alone book by Daniel Leader and Judith Blahnik. This starter recipe is slightly more labor intensive but still easy. 1/2 cup spring water, 2/3 cups stone ground rye flour and less than 1/16 teaspoon yeast (pinch). Combine, scrape down sides and cover with tightly fitting lid. This process is repeated (minus the yeast ingredient) for 4 days. I am on day 3 as I write this. From this rye “chef” I should be able to make a rye sourdough starter. Both of these recipes are not labor intensive but do require a small amount of time daily to continue the growth or fermentation.
My quest is to make bread from each of these two starters and thus determine which one I want to continue to use and which one will be unceremoniously dumped down the drain.
More of this experiment later…
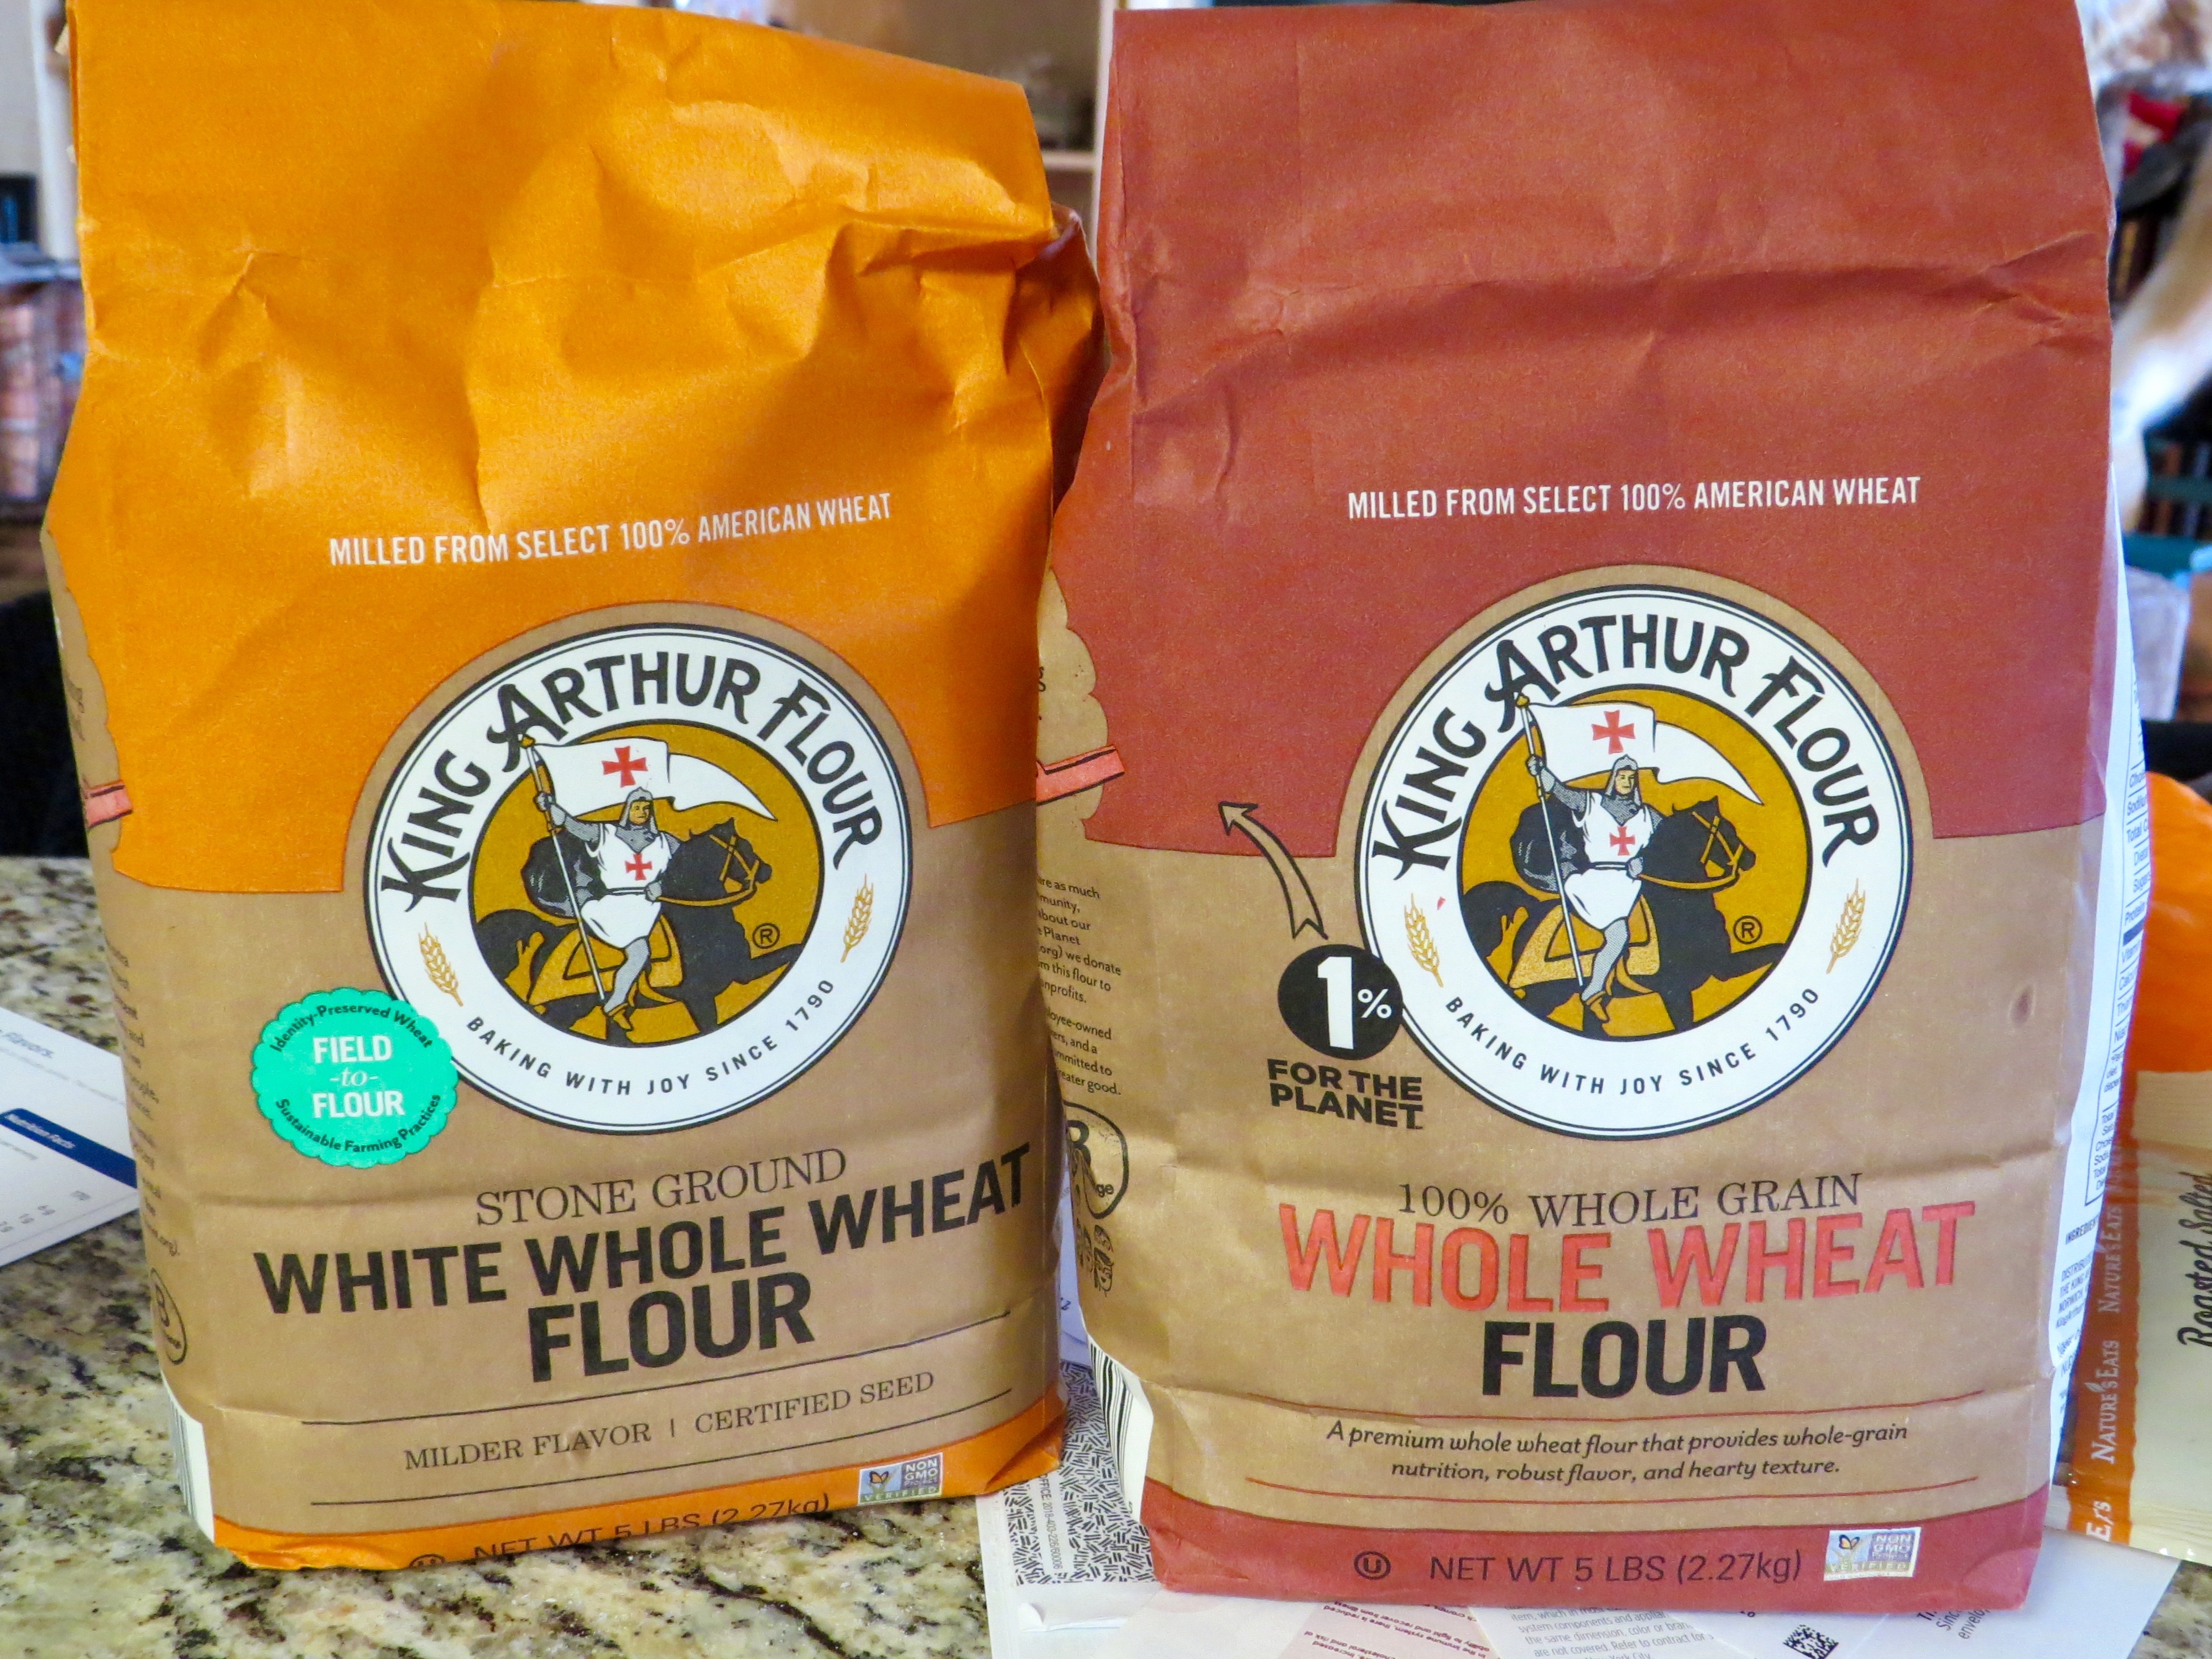
When I first began gathering the ingredients for my first foray into bread making 101, I just visited my usual HEB and the flour choices were limited. I knew that the protein content of the flour should be around 13% so using my label reading skills, I thought I could determine which flour was the best. So many choices…stone ground, bleached, unbleached, all-purpose, whole wheat, white whole wheat (what????) and then a slew of other types of flours, oat flour, rice flour. Frustrated by my inability to figure out the protein content, I noticed a 1-800 number on the back of the King Arthur flour package for calling the “baker hotline” so I whipped out my cell phone and right there in the baking aisle of the grocery store I punched up the number and was immediately connected to a very friendly, knowledgable lady who was able to answer all of my questions about the King Arthur flour. How cool was that! I just love this high-tech world we live in! I envisioned a little old lady (much like myself) sipping tea in her kitchen with yummy aromas emanating from her oven as she fields questions from novice bakers across the United States.

Well today, I switched to the Tassajara Bread Book by Edward Espe Brown and made another run to the grocery store to get more ingredients but this time I went to Central Market. Oh my! I struck pay dirt there….Millet meal, Barley flour, Buckwheat flour and in the bulk section a nine grain mixture that will be perfect for my first loaf from the Tassajara cookbook.
With the basic yeast bread recipe from this book, there was a whole lot more mixing, kneading, pushing, pulling and punching. I did alter the recipe a little but this book encourages experimentation. I have to say that I very much enjoyed the more prolonged sequence of mixing, waiting for a rise, punching down, another rise and finally a shaping into loaves and popped into the oven. It was relaxing and invigorating!

The first loaf is out and I am super happy with it. Great rise, pretty appearance and I am waiting for it to cool so I can give it the ultimate taste test.
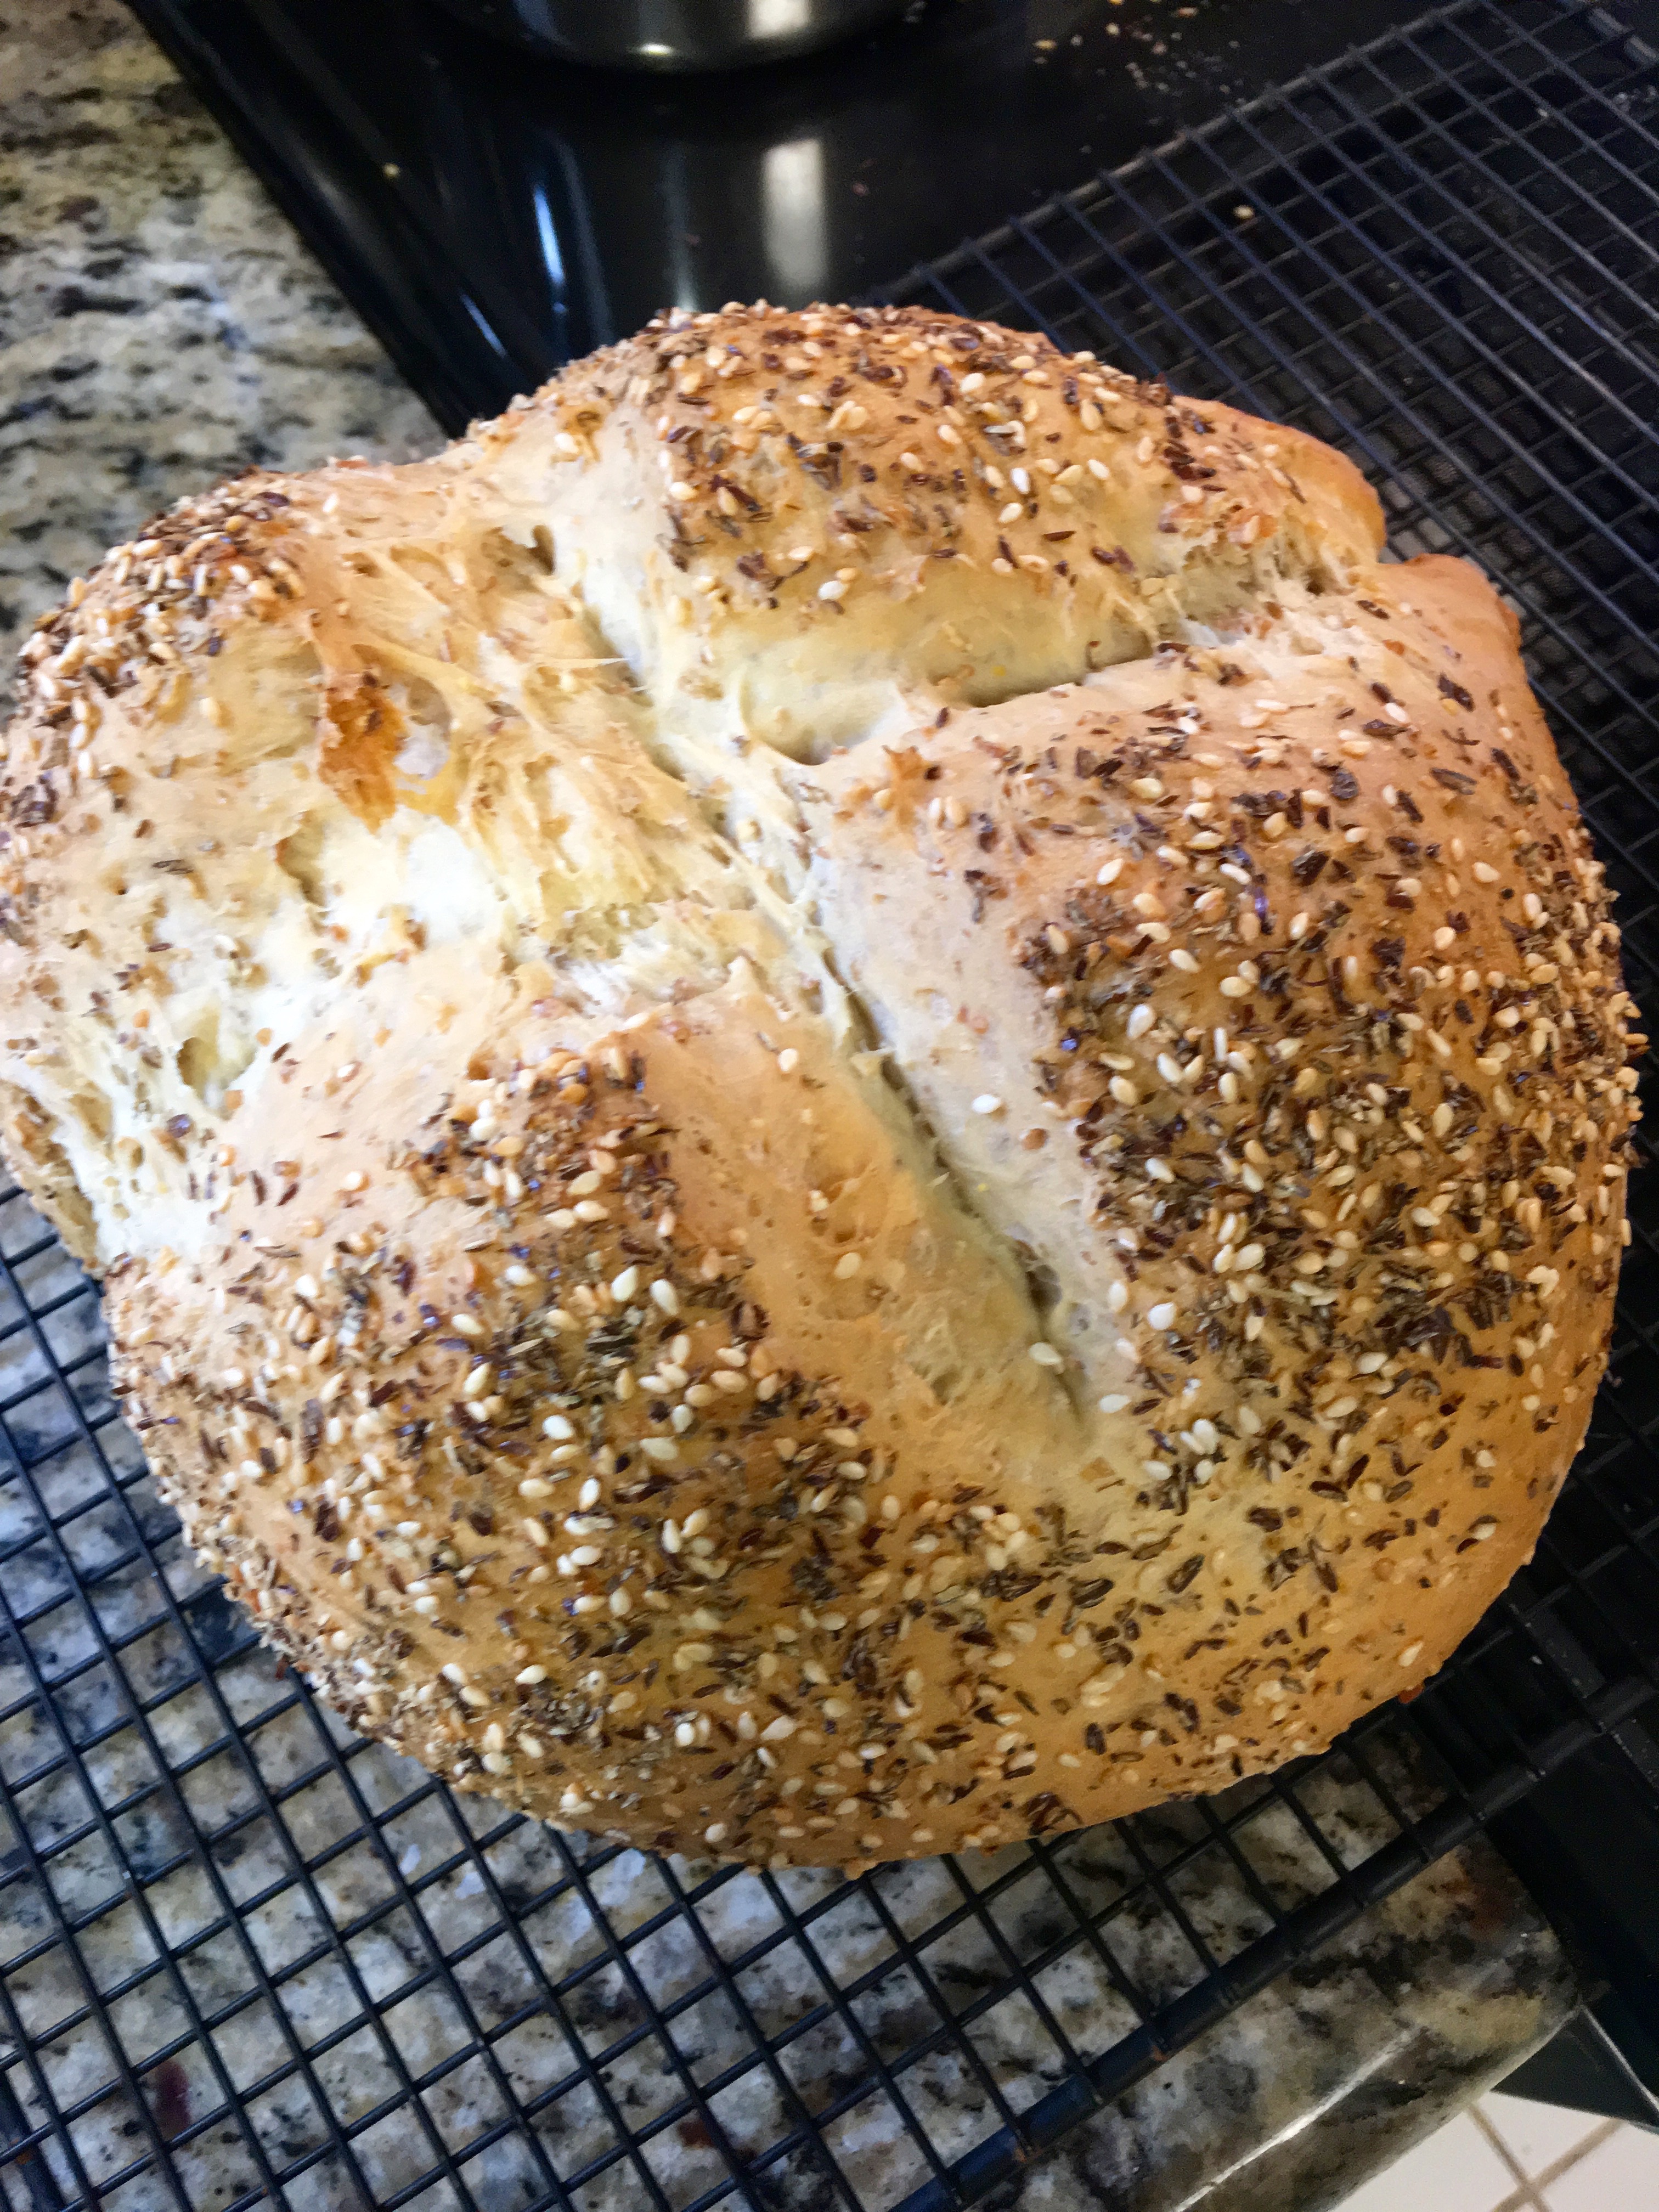
The old saying goes that you have to kiss a lot of frogs before you find your prince. Holds true for a nice complete loaf of bread and the Tassajara Bread Book has delivered . Great outside crust, tremendous soft moist inner crumb, satisfying taste with interesting crunches from the 9 grains incorporated within the dough. With these loaves I definitely got the “oven spring” that was lacking with the whole wheat flour breads.

Nice to have a success story. Both loaves were well risen and I am ready to bake my way through the Tassajara Bread Book. Yum, Yum!!!
Happy baking!!!

Frustrated by my first bread making attempt and added to my Christmas dinner biscuit failure, I am having serious doubts about my baker skills. So…tossed the first batch and chalked it up as a total failure and started my second batch but this time resorted to using plain old all-purpose white flour in an attempt to give me a small success to encourage me to keep trying. My kitchen looks like a mega flour bomb exploded, but pushing aside any impediments, I began again…
Recipe: From Artisan Bread in Five Minutes a Day;
This second batch doubled and quickly tripled in size within the first hour after mixing. I then let my instincts kick in and tossed the book instructions. Flouring up my Boos butcher block table in my kitchen, I dumped the now risen second batch of dough onto it and dusting with flour as needed, I proceeded to knead, punch, and pull the bread dough until it “felt” right to me. Then I halved the mixture and took one half and placed it in the woven basket that is lined with a linen cloth that I heavily rubbed with flour. This (hopefully) will be my first successful round boule that will have a woven texture on the outside crust (see I am still optimistic even after a catastrophic failure!).

Second batch, first loaf into the oven at 450 degrees for 20 minutes. When I turned it out of the basket form onto the pizza peel to put it in the oven on the preheated baking stone, it collapsed a little but undeterred, I let it bake. After 20 minutes I reduced the oven temp to 400 degrees for the last 20 minutes. When I removed it from the oven it had a great “thump” sound when I knocked on the bottom of the loaf. I waited until it had cooled for about 30-45 minutes and unable to hold myself back, I sliced a piece. This loaf had a very nice crust (even though I forgot to egg wash it!) and a chewy moist crumb. I buttered it and tasted. I toasted a piece, buttered and tasted and then tried some sugar-plum jam on a piece. All in all a nice effort, but wish I had gotten a little more rise. The supposed “oven spring” hasn’t sprung for me yet.
The next loaf in was a baguette which I also forgot to egg wash or butter the crust. Trying to do it after second rising was disastrous as it deflated some but I baked it anyway. This time in a 400 degree oven for the entire 40 minutes. Still waiting for the “oven spring”! HA!!!

The third loaf is now in the oven and I don’t have high expectations for the “oven spring”. Just hasn’t happened yet, but I am learning each time, so onward I go. So in summation, my loaves today will not win any awards for beauty, but they will pass the taste test.


Since I am making chili for my evening meal tonight, I am going to switch to a Broa or Portuguese Corn Bread to accompany it. Any learning process is sometimes slow, frustrating and painful. To produce a handsome loaf that tastes scrumptious is my ultimate goal.
I seem to be concentrating on texture and rise in my bread-making saga. The “pretty” can come later. To be continued….
Back in the late 60’s and 70’s when I was a young woman and tackled the task of bread making, things were simplified. Find a recipe in a book, follow it, bake it, and enjoy the results of your labor. So when I decided to begin again my bread baking adventures in these winter years of my life, I began reading several books to refresh my memory on the whole process. Little did I realize how very different 40-50 years can make in the simple process of baking bread.
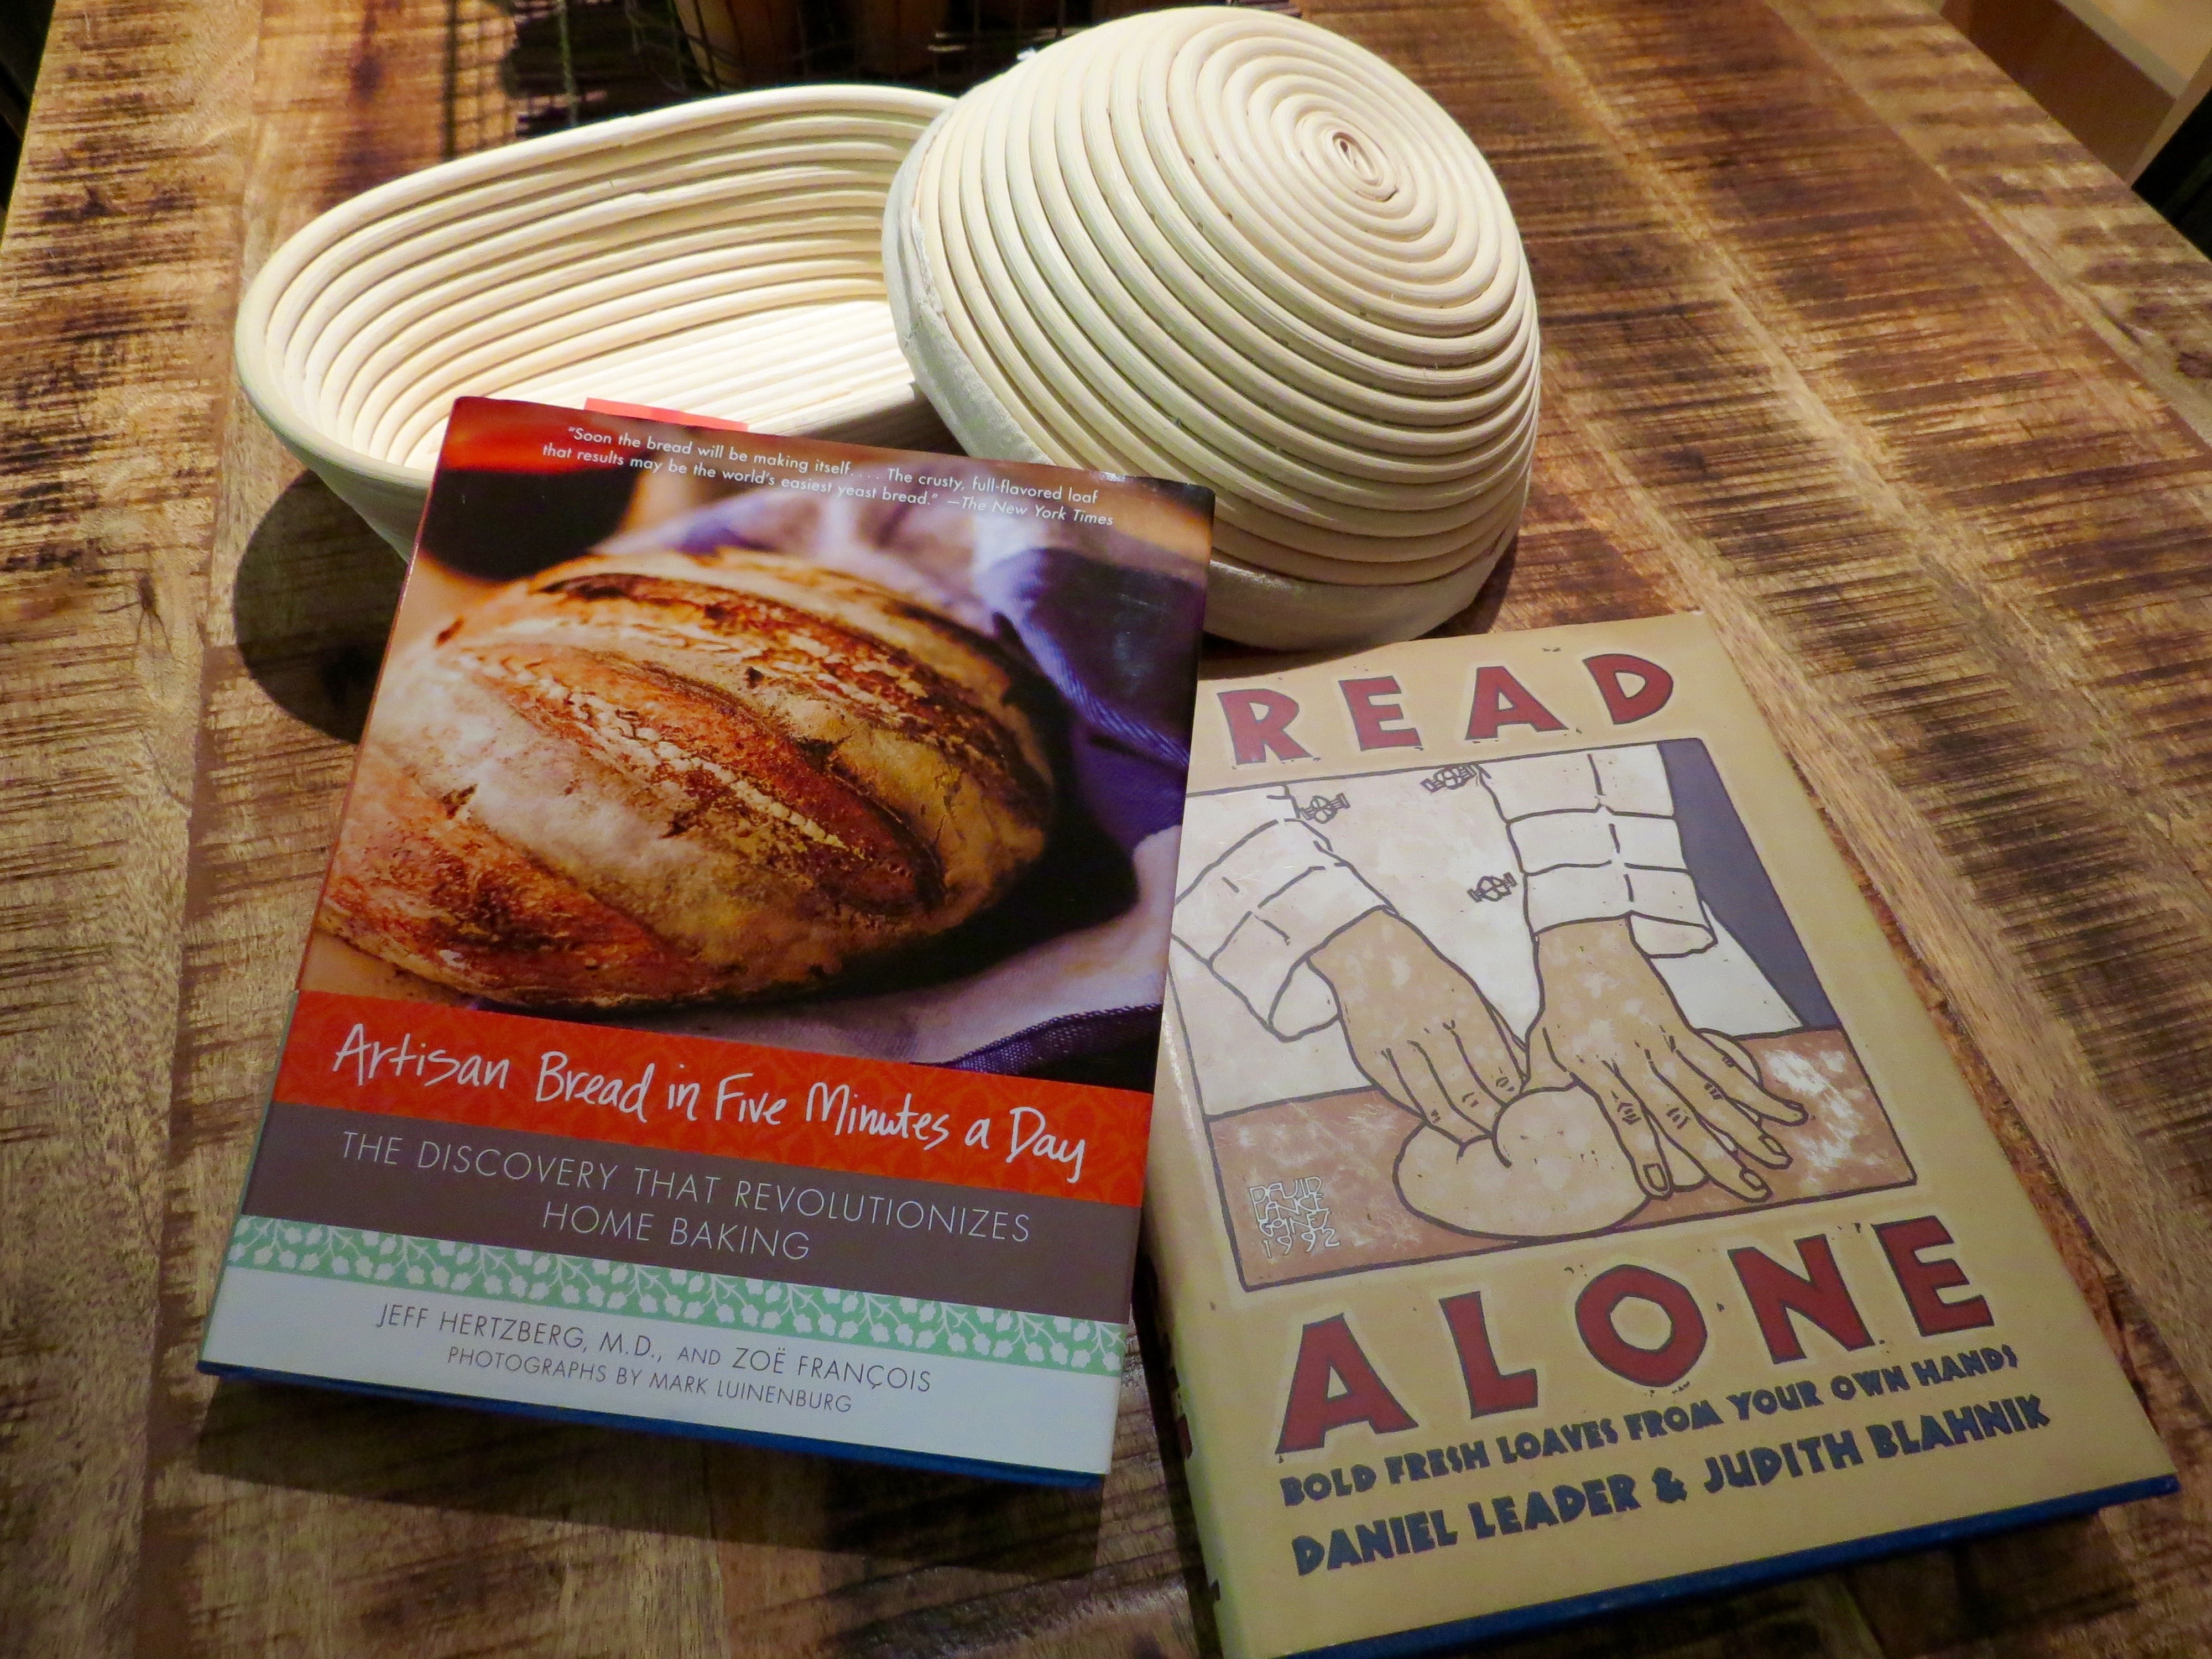
I was overwhelmed with new terminology that I either never knew when I was young or has come into popular use in the years since. Words like couche (French for couch or resting place), or baskets in which the dough can rest and ultimately take on the shape of the basket before being popped into the oven, pizza peel, brioche pans, panettone molds, dough scraper, poolish, oven spring, the crumb (inner portion of the loaf), crust (outer portion of the loaf) and a plethora of equipment like dough hooks, electric mixers, metal measuring cups, scales, oven thermometer, baking stone, loaf pans, bread knifes, cooling racks, silicone mats, measuring spoons and pastry brushes. And I am sure there are probably dozens more. All of this “new” knowledge for me made me glad that as a young woman I just blithely “made bread” without any special equipment and put homemade bread on the table for many years.
So today I purchased a few items at a restaurant supply store and with a trip to the grocery store I was ready to make my first batch of 21st century dough after a 40 year drought. I carefully checked the temperature of the water to make sure it wasn’t too hot for fear of killing the yeast. I measured my flour with dip, level pour precision. I carefully measured the salt and yeast. I followed the recipe for an artisan free-form Boule exactly (well almost!). Recipe used from Artisan Bread in Five Minutes a Day:
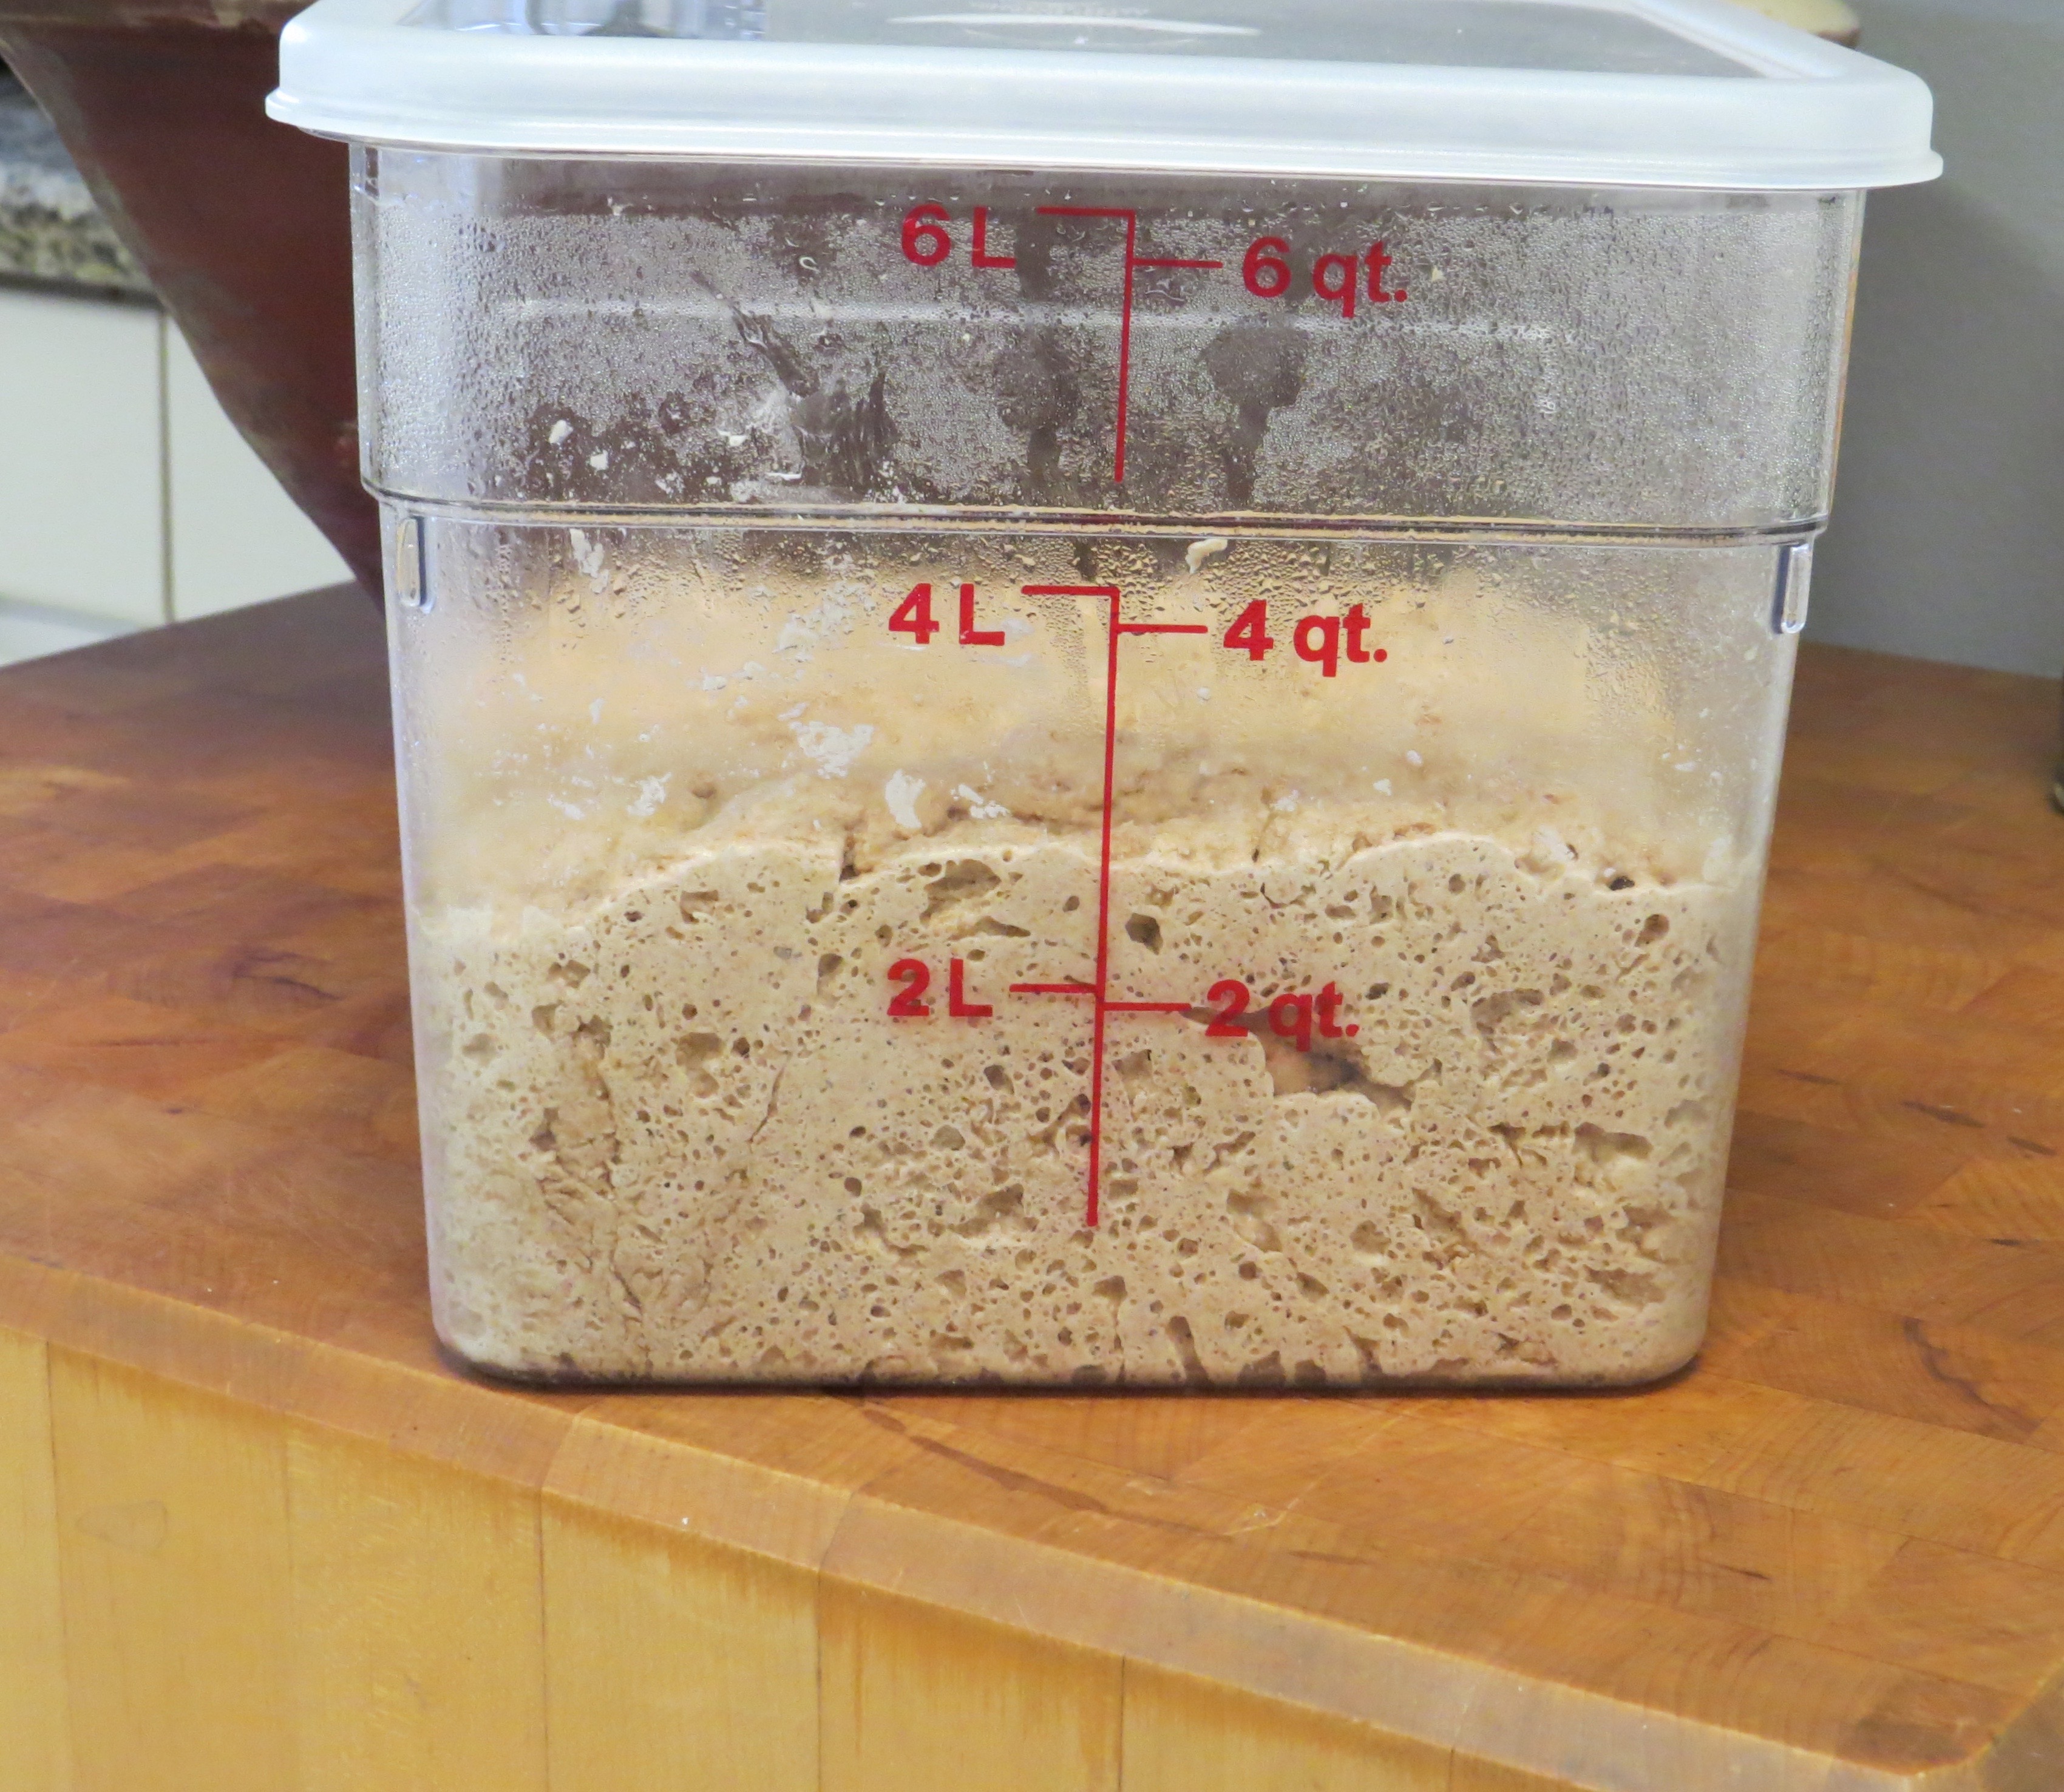
Two hours later, the dough has approximately doubled in size and there is a decisive yeast smell when I lift the lid. The recipe I am following tells me to refrigerator the dough overnight and whenever I am ready, to cut off a grapefruit size chunk to bake. It makes four one-pound loaves and I plan to continue the baking process manana. So now I wait….
Up late and putting my first loaf into the oven. Smells good, but when I removed it from the oven, it was heavy and definitely not my idea of success. I let it cool for about 15 minutes and sliced it for a taste. Very disappointed…flat taste, texture too dense which I attributed to the whole wheat flour.

Tomorrow I’ll try again!!
